Why DTF Transfers Are Changing the Custom T-Shirt Industry
If you’ve looked into custom t-shirt printing UK recently, you’ll have noticed one technology coming up again and again: DTF transfers. Direct-to-film printing has rapidly
Use Heat Transfer Paper for Shirts: Heat transfer paper is a versatile tool for creating custom t-shirts, tote bags, mugs, and many other items. With its ability to transfer printed designs onto fabrics using heat and pressure, it has become an essential material for both hobbyists and professionals. Whether you’re customizing clothes for personal use or looking to start a small business, understanding how heat transfer paper works is key to achieving professional-quality results.
Heat transfer paper is a special type of paper designed to transfer a printed design onto fabric or other materials using heat. The process is simple but effective, enabling vibrant and durable prints. The paper is coated with a resin or wax layer that holds the ink. When heat and pressure are applied, the design bonds with the target material—be it fabric, wood, or metal.
Heat transfer paper comes in two main types: inkjet and laser. Inkjet heat transfer paper works with inkjet printers, while laser heat transfer paper is intended for laser printers. This distinction is crucial, as using the wrong type of paper for your printer may result in poor transfer quality.
Creating personalized t-shirts is a rewarding endeavor, whether for personal use, gifts, or small business ventures. One of the most accessible methods for achieving vibrant, durable designs is through the use of heat transfer paper. This guide will walk you through the essentials of heat transfer paper, its types, and a step-by-step process to transfer designs onto shirts effectively.
Heat transfer paper is a specialized paper coated with a resin or wax layer that holds an inked design. When subjected to heat and pressure, this coating melts, allowing the ink to bond with the fabric, resulting in a permanent and vibrant print. This method is popular for customizing various items, including t-shirts, mugs, and bags.
Selecting the appropriate heat transfer paper is crucial for achieving optimal results. The main types include:
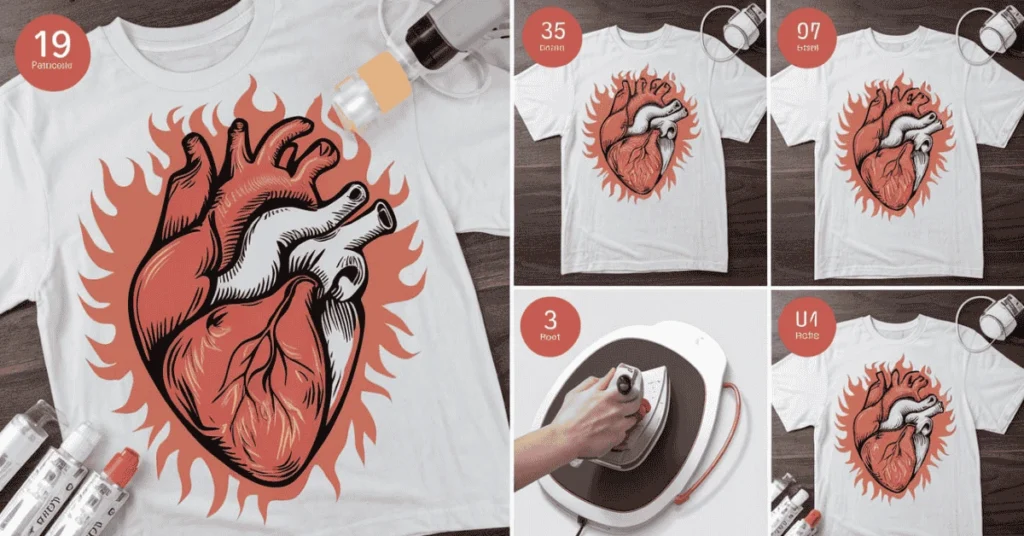
Follow these steps to successfully transfer your design onto a t-shirt:
Choose the Right Transfer Paper: Select the transfer paper that matches your printer type and the fabric color of your t-shirt. For instance, use inkjet transfer paper for inkjet printers and light-colored fabrics.
Prepare Your Design: Create or select the design you wish to transfer. Ensure it’s the correct size for your t-shirt. For inkjet transfer paper, print the design in reverse (mirrored) to ensure it appears correctly on the fabric.
Print the Design: Load the transfer paper into your printer according to the manufacturer’s instructions. Use the highest quality print settings to ensure a crisp, clear image.
Cut Out the Design (if using HTV): If you’re using heat transfer vinyl, cut out your design using a vinyl cutter. Ensure the design is cut accurately to avoid any excess vinyl.
Prepare the T-Shirt: Wash and dry the t-shirt to remove any sizing or residues. Iron the fabric to eliminate wrinkles, providing a smooth surface for the transfer.
Position the Design: Place the printed transfer paper (or vinyl design) onto the t-shirt in the desired location. Use heat-resistant tape to secure it in place if necessary.
Apply Heat and Pressure: Using a heat press or a household iron, apply heat and pressure to the design. Follow the transfer paper manufacturer’s recommended settings for temperature, pressure, and time. For example, some transfer papers require a temperature of 350°F for 15 seconds.
Peel the Backing: Allow the t-shirt to cool slightly. Carefully peel off the backing paper, ensuring the design has adhered properly. If any part of the design hasn’t transferred, reapply heat and pressure as needed.
Curing the Design: To ensure the design’s longevity, cure it by applying heat for an additional 10-15 seconds after peeling the backing.
Care Instructions: Wash the t-shirt inside out in cold water and tumble dry on low heat to preserve the design. Avoid using bleach or fabric softeners, as they can damage the transfer.
The process of transferring a design using heat transfer paper is relatively straightforward:
Different types of heat transfer paper are suited for various fabric types. Understanding which one to use is crucial for achieving the best results.
This paper is designed for light-colored fabrics, such as white or pastel shades. When using light fabric transfer paper, the image must be printed in reverse (mirrored). This ensures that the design appears correctly on the fabric when transferred. The paper becomes transparent after the transfer, leaving no visible residue.
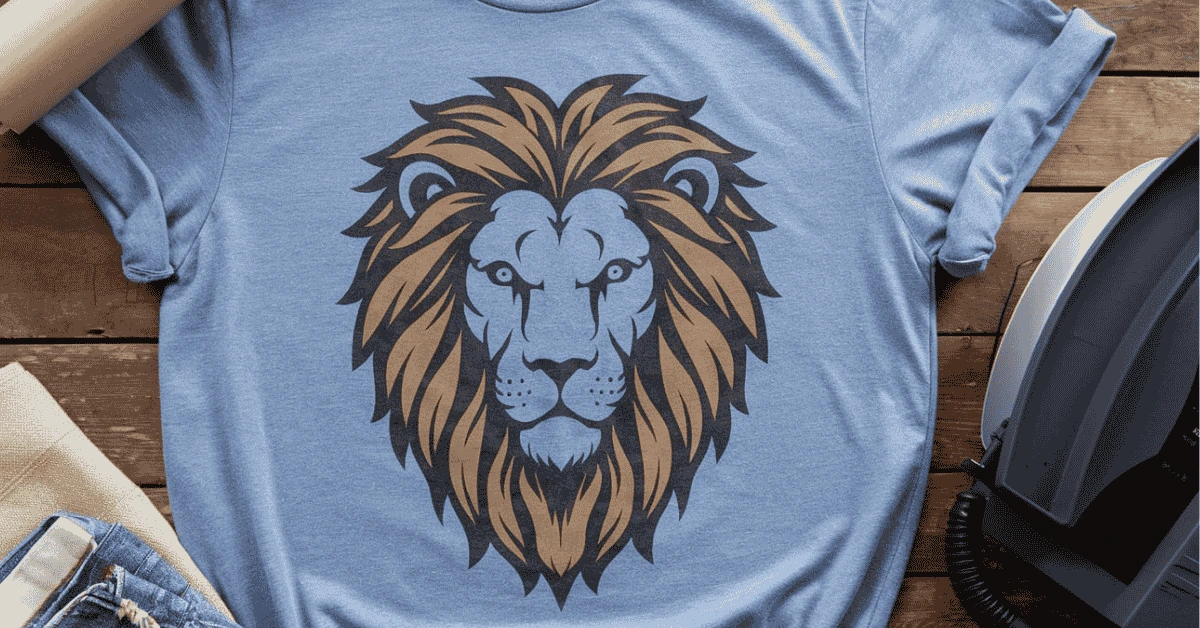
Dark fabric transfer paper is ideal for use on black or dark-colored fabrics. Unlike light transfer paper, dark fabric transfer paper does not require the image to be mirrored. This type of paper often has a white background that helps the design stand out against dark fabrics. The paper stays opaque, making the design visible and vibrant even on dark fabrics.
Heat transfer vinyl is another popular choice for customizing t-shirts. HTV comes in various colors and finishes, such as matte, glossy, or glittery. It is cut into the desired shape using a vinyl cutter and then heat-pressed onto the fabric. HTV is excellent for simple designs, including logos or text, and provides a durable, long-lasting finish.
Sublimation printing involves using special inks that are transferred to the fabric through a process called dye-sublimation. The ink vaporizes when heated and bonds directly with synthetic fabrics like polyester. Sublimation paper is ideal for printing vibrant, full-color designs on light-colored fabrics and materials.
To ensure a flawless transfer, follow these steps carefully:
Start by selecting the correct type of transfer paper for your fabric and printer. If you’re working with light-colored fabrics, use light fabric transfer paper. For dark fabrics, choose dark fabric transfer paper. If you’re using a vinyl cutter, HTV is a great option. Be sure to match the paper to the printer you have—inkjet or laser—to get the best results.
Create your design using graphic design software or a template. If your design includes text, remember to reverse the image before printing. Load the transfer paper into your printer, ensuring the correct side is facing up. Print your design using high-quality settings for the best results.
Before applying the transfer, ensure the fabric is clean and wrinkle-free. Wash and dry the fabric to remove any oils or residues that might interfere with the transfer process. Iron the fabric to eliminate wrinkles, providing a smooth surface for the transfer.
Once the design is printed, carefully cut it out. If you’re using HTV, this step is essential for ensuring clean edges. You can use scissors or a vinyl cutter for more precise cuts. Trim as closely to the design as possible to avoid any visible excess paper.
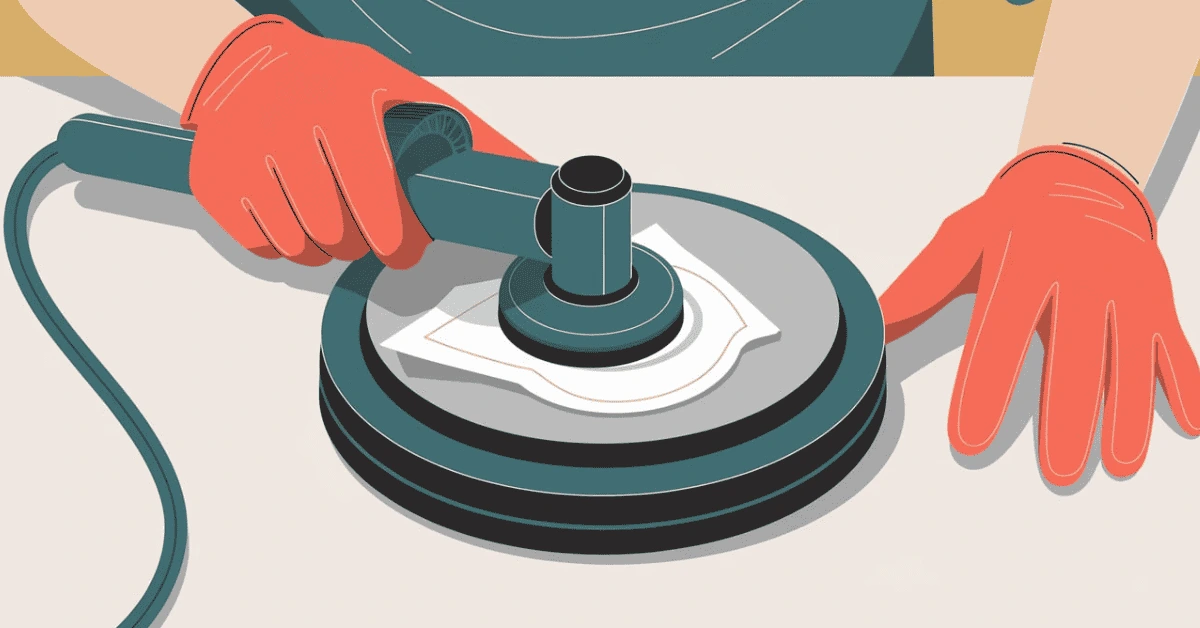
Place the design face down on the fabric, ensuring it is aligned correctly. If you’re using a heat press machine, preheat it to the recommended temperature (typically around 350°F to 375°F). Use medium to high pressure, and press for the time specified by the transfer paper manufacturer (usually 15-30 seconds). If you’re using an iron, ensure it is set to a high heat without steam, and apply pressure for a similar duration.
Once the transfer is complete, carefully remove the backing paper. For light fabric transfers, peel the paper off while it’s still warm. For dark fabric transfers, you may need to wait until the design has cooled before peeling the paper off. Be gentle during this process to avoid damaging the design.

To ensure the longevity of your custom-designed fabric, follow these care instructions:
By following these simple care tips, your custom t-shirts and other items will stay vibrant and intact for a long time.
Using heat transfer paper is an effective and creative way to customize fabrics. Whether you’re creating personalized gifts, promoting a brand, or starting a crafting business, mastering this technique can yield impressive results. By selecting the right transfer paper, following the step-by-step process, and taking proper care of your creations, you’ll be able to produce vibrant, durable designs on various materials.
Utilizing heat transfer paper is an effective and accessible method for creating custom t-shirt designs. By selecting the appropriate transfer paper, following the correct application process, and adhering to care instructions, you can produce high-quality, personalized garments. Whether you’re a hobbyist or looking to start a small business, mastering this technique opens up a world of creative possibilities.
If you’ve looked into custom t-shirt printing UK recently, you’ll have noticed one technology coming up again and again: DTF transfers. Direct-to-film printing has rapidly
DTF Transfer Supplies UK: Direct-to-film (DTF) printing is transforming the custom apparel industry with vibrant colors, sharp details, and long-lasting prints. Unlike traditional methods like screen
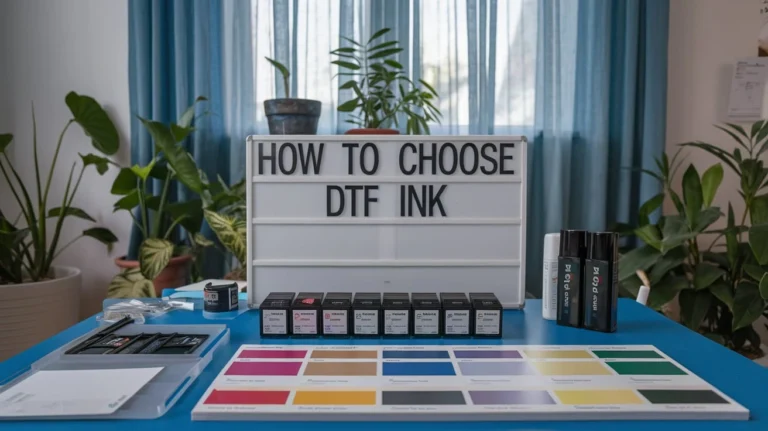
How to Choose DTF Ink: When choosing DTF ink, it’s important to consider color vibrancy and durability. The ink you select affects the final look,

