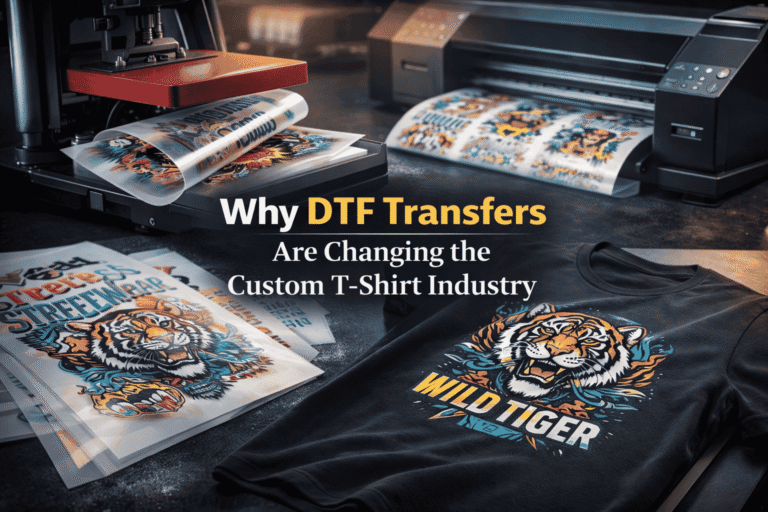
Why DTF Transfers Are Changing the Custom T-Shirt Industry
If you’ve looked into custom t-shirt printing UK recently, you’ll have noticed one technology coming up again and again: DTF transfers. Direct-to-film printing has rapidly
Print UV DTF Transfers:UV DTF printing is a fast and durable way to create bright, scratch-resistant designs on glass, metal, ceramics, and plastics. It uses UV-cured inks that bond without heat, making it ideal for custom drinkware, phone cases, and promotional products.This guide covers the materials, process, and application steps to help small businesses and DIY creators achieve high-quality, professional results with ease.
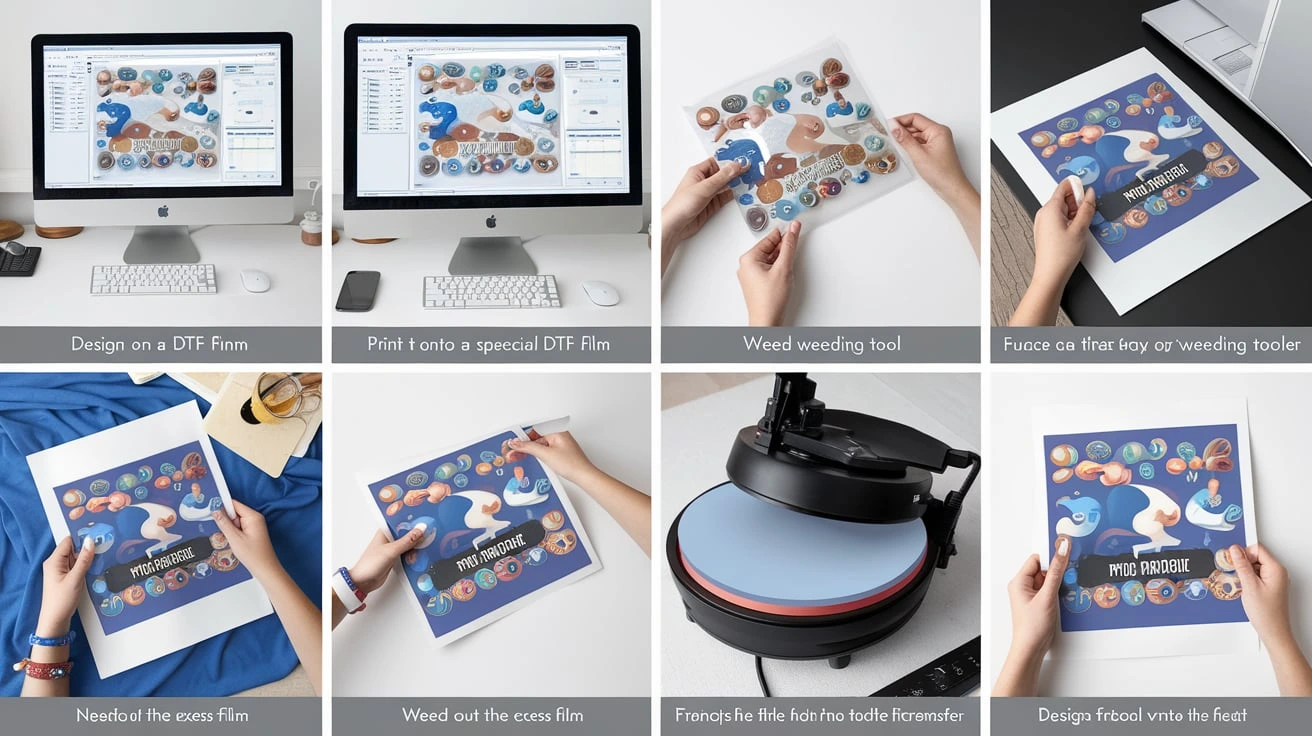
Creating UV DTF transfers requires the right equipment, supplies, and techniques to achieve high-quality results. You will need Sheet A, Sheet B, a UV DTF printer, inks, and a laminator to begin. The process involves two key steps: printing and laminating. First, print the custom design onto Sheet A using the printer loaded with UV inks. Then, carefully laminate it with Sheet B to transfer the sticker effectively. For better results, following an ultimate guide or watching detailed videos can be incredibly helpful.
To produce custom and durable UV DTF transfers, having the UV right printer, laminator, and inks is essential. Accessories like adhesive sheets and cutting tools also play a crucial role in achieving precise designs. Businesses investing in UV DTF printing must ensure they have a reliable supplier for high-quality materials. Additionally, using the correct settings and regularly maintaining equipment helps in efficient production.
Selecting a UV DTF printer depends on factors like efficiency, user-friendliness, and cost-effectiveness. Some models, like the Aries 113, come with an integrated laminating function, which reduces the need for a separate laminator and simplifies the process. Look for printers that offer bundled software, training, and technical support to minimize the learning curve. Checking reviews, attending workshops, and consulting with dealers can help in making the right decision.
Many beginners worry about the complexity of UV DTF printing, but modern printers are designed to be intuitive and easy to operate. Software packages come bundled with guides, making the printing process more streamlined. Additionally, manufacturers provide tutorials, online videos, and manuals for better familiarization. With regular practice and training, even new users can master UV DTF printing quickly.
Using the right software and printer settings is key to efficient UV DTF printing. Many dealers offer complete software packages to help users optimize their printing process. Regular maintenance and troubleshooting are also necessary to prevent issues with ink flow, adhesion, and color accuracy. Investing in educational resources like DTF Station’s 800+ tutorial videos ensures better familiarization with the technology.
Proper application of UV DTF transfers ensures they last longer on cups, tumblers, and other substrates. Start by washing and drying the surface thoroughly. Then, cut the sticker and remove a 1-inch backing to expose the adhesive area. Carefully apply it and press firmly to activate the adhesive with body heat for about 3-5 minutes. Slowly peel the cover sheet and smooth out any air bubbles with your fingers.
Despite being a cutting-edge technology, UV DTF printing may face occasional challenges. Common issues include adhesive peeling, improper lamination, or uneven prints. Regular maintenance, adjusting printer settings, and using high-quality inks can help resolve most troubleshooting concerns. Many dealers also provide support, tutorials, and workshops to help users fix common errors.
UV DTF transfers offer versatility, durability, and high-quality prints across a wide range of surfaces. Their ease of use, cost-effectiveness, and cutting-edge technology make them a top choice for businesses and enthusiasts alike. Whether you’re looking to print custom designs on cups, tumblers, or other products, UV DTF printing provides a solution that enhances creativity and productivity.
UV DTF transfers are one of the best ways to achieve stunning, high-quality prints on various materials. This technique involves printing direct to film (DTF) using ultraviolet (UV) light to cure the ink, ensuring a durable, vibrant finish that resists fading. Unlike other methods, UV DTF is highly flexible and works well on fabrics, glass, metal, wood, and plastic, making it a versatile choice for decorative and promotional items.
With UV DTF, you can transform your printing approach and elevate your products. Whether you are preparing artwork for custom orders or looking for a step-by-step method to apply transfers on expansive product lines, mastering this printing technique will help you achieve professional results.
Before you start printing UV DTF transfers, you’ll need the right tools and materials to ensure the process runs smoothly. A UV DTF printer equipped with UV inks is essential. These inks are formulated to cure under UV light, ensuring a smudge-free print.
You’ll also need PET film, a 395 nm UV lamp for curing, and optional adhesive powder for a stronger bond on curved or uneven surfaces. For the application process, keep a scraper handy to remove bubbles, along with tweezers to help with peeling the film cleanly.
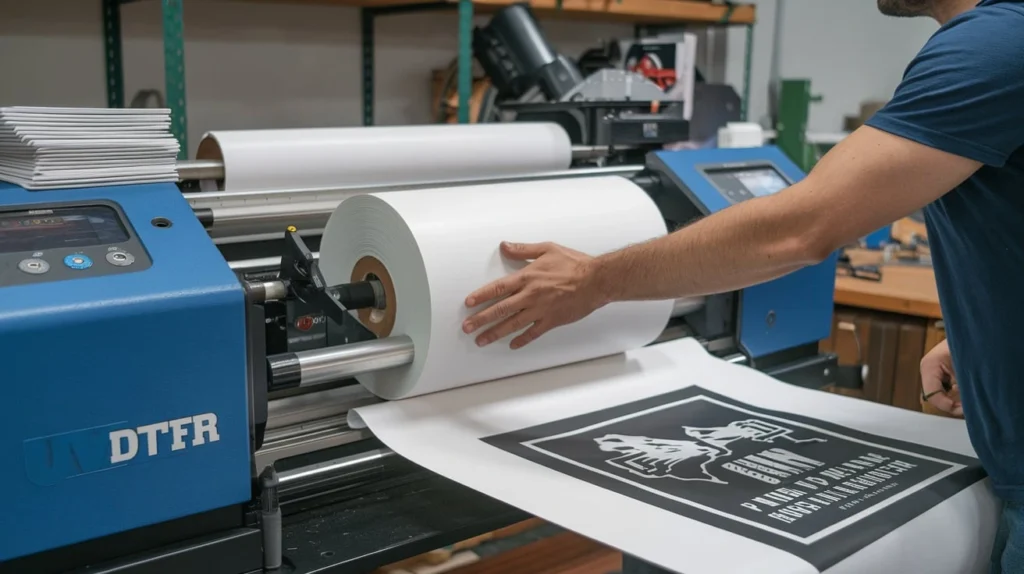
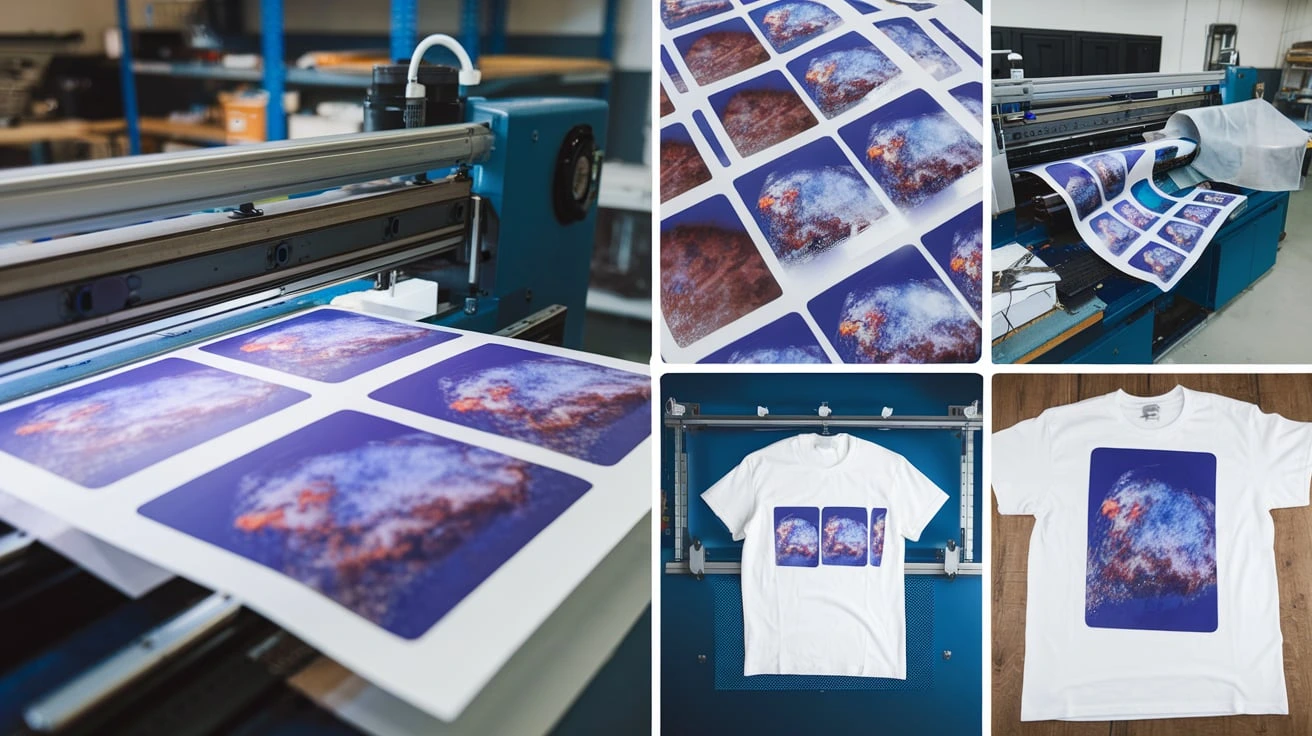
The process begins with printing your design on clear PET film using a UV DTF printer. First, the color layer is printed, followed by a white layer that acts as a base for added vibrancy. After printing, the ink is cured under a UV lamp to ensure a durable print.
If needed, a thin layer of adhesive can be applied to help the transfer stick better. Once the printing and curing process is complete, the transfer is ready to be pressed onto the final surface using proper application techniques.
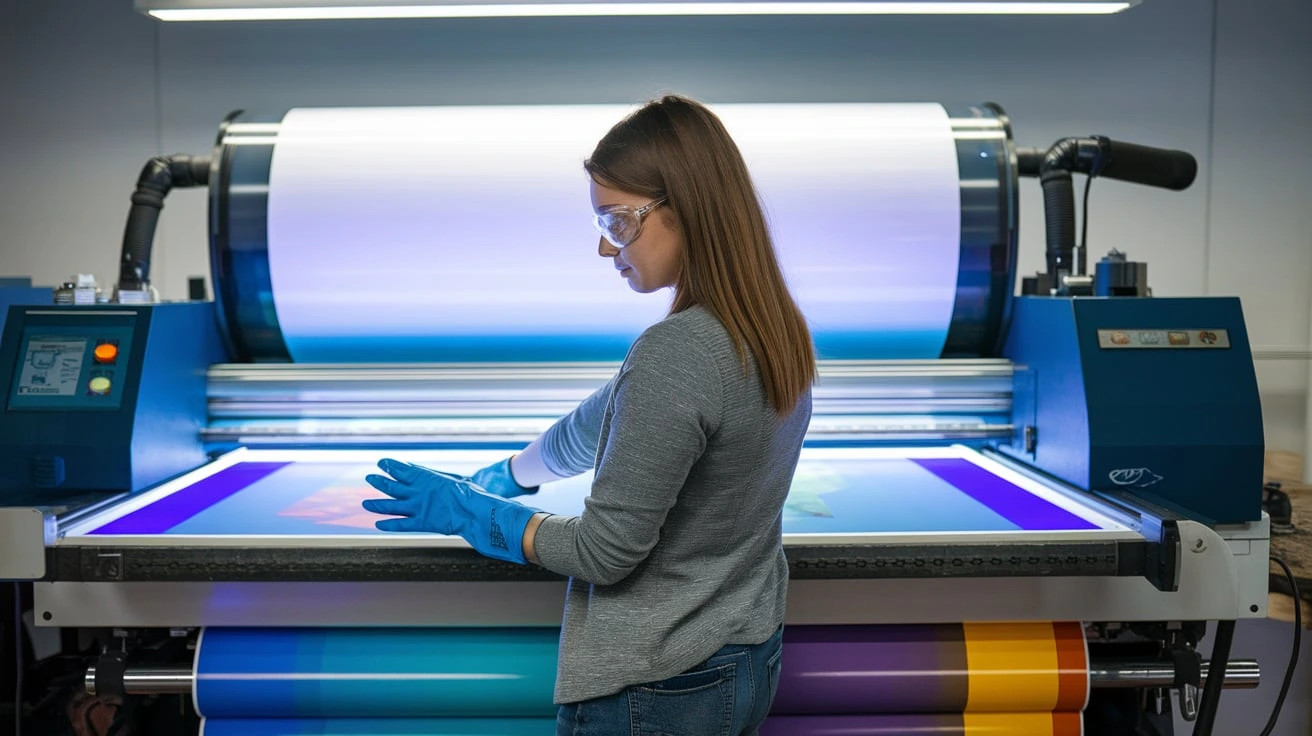
To achieve high-quality UV DTF transfers, proper printer setup is essential. Load your printer with UV inks, ensure the print head is clean, and use PET film designed for UV DTF printing to prevent smudging or smearing.
After printing the color layer, apply the white layer evenly to enhance vibrancy. Once printed, the transfer must be cured under a UV lamp for the correct duration, ensuring the ink is fully set and ready for application.
Proper curing is critical for a durable finish. Once the design is printed on the PET film, place it under a 395 nm UV lamp for about 30 seconds to a minute. If the ink feels sticky, it needs additional curing.
For better adhesion, an adhesive layer can be applied before curing again. This step ensures the transfer sticks firmly to curved or uneven surfaces and remains long-lasting. A well-cured and properly adhered transfer will resist fading and wear over time.
To apply a UV DTF transfer, first ensure the surface is clean and dry. Any dust or oil can weaken the adhesive bond. Place the transfer film adhesive-side down and press it firmly onto the surface using a scraper to remove air bubbles.
Once pressed, let it sit for a few minutes before peeling off the film. If the transfer isn’t sticking properly, press it down again and allow more time for adhesion. A final curing session under a UV lamp will help secure the design for a smooth, vibrant, and durable finish.
Wipe with a soft cloth and mild soap to prevent damage. Avoid abrasive cleaners that can scratch the design.
A clear UV-resistant coating helps protect prints from scratches and fading, especially on high-use items.
Over-curing can weaken adhesion, while under-curing may cause smudging or peeling. Follow the correct curing time for the best results.
Prolonged UV exposure can cause colors to fade over time. Store printed items away from direct sunlight when possible.
Ensure smooth adhesion by cleaning the surface thoroughly, removing air bubbles, and applying firm pressure for a secure bond.
UV DTF transfers work on an expansive array of non-porous materials, including glass, metal, wood, and plastic. Before applying, clean the surface thoroughly using a lint-free cloth and alcohol to remove dirt and oils.When placing the transfer, ensure proper alignment before pressing down. Using a firm, even pressure with a squeegee will help eliminate air bubbles. Slowly peeling the top film at a shallow angle prevents lifting or damage to the design.
When it comes to custom printing, different methods offer unique benefits. UV DTF transfers stand out for their versatility, durability, and ease of use, making them a superior choice compared to vinyl stickers, engraving, or sublimation.
A strong design is key to stunning results. Use professional software like Adobe Illustrator or Photoshop to create high-resolution graphics. Set the resolution to 300 DPI for sharp prints and use clear color layers to maintain vibrancy.
Ensure that white ink is applied first as a base layer to make colors pop. Extending the edges of the artwork slightly can prevent misalignment issues during application. Testing a sample print before full production helps identify any necessary adjustments
To keep your UV DTF prints looking fresh, follow these simple care tips:
UV DTF printing is a game-changer for creating vibrant, durable designs on glass, metal, ceramics, and plastics. Its scratch-resistant, long-lasting prints make it the perfect choice for custom drinkware, phone cases, and promotional products.
By using high-quality printers, proper curing techniques, and correct application methods, businesses and DIY creators can achieve professional results with ease. With the right care and maintenance, UV DTF transfers will continue to look bright and flawless for years to come.
If you’ve looked into custom t-shirt printing UK recently, you’ll have noticed one technology coming up again and again: DTF transfers. Direct-to-film printing has rapidly
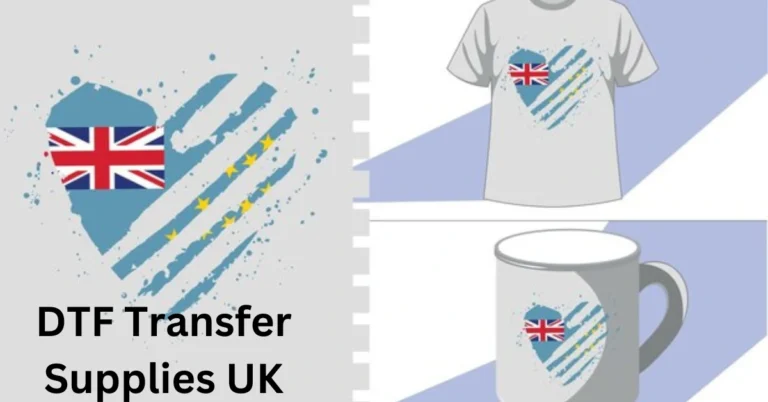
DTF Transfer Supplies UK: Direct-to-film (DTF) printing is transforming the custom apparel industry with vibrant colors, sharp details, and long-lasting prints. Unlike traditional methods like screen
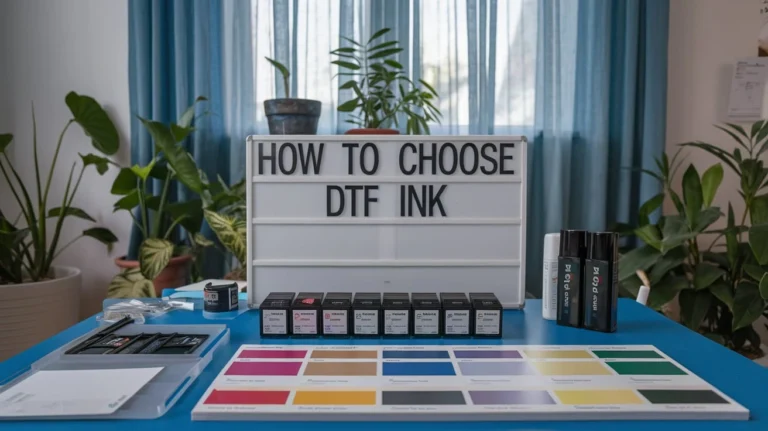
How to Choose DTF Ink: When choosing DTF ink, it’s important to consider color vibrancy and durability. The ink you select affects the final look,